Although instrument calibration is an integral and very important part of all manufacturing processes across all industries, it is still often underestimated and neglected. In the following lines, we will explain what such calibration consists of, what it entails, why it is beneficial or what the risks are if it is neglected.
Calibration: what is it?
Even before we mention the advantages, pitfalls and/or risks related to instrument calibration, it is necessary to clarify what the calibration process consists of. According to the International Dictionary of Metrology, the definition is as follows:
“Calibration is an activity which, under specified conditions, determines in the first step the relationship between the values of the quantity with the measurement uncertainties provided by the standards and the corresponding indications with the associated measurement uncertainties, and in the second step uses this information to establish the relationship to obtain the measurement result from the indication.”
Nice, but if we are not metrology enthusiasts who enjoy poring over tables and standards in the evenings, then such a definition will not tell us much. So, in short: it is basically a comparison of measured quantities by a calibrated device with a standard (sometimes also called a calibrator), i.e. a second device for which the required measurement accuracy is guaranteed and proven.
There are several (hundreds) of opinions among metrology experts as to how many times the standard should be more accurate. What is important, however, is the proven continuity of the standard with national standards. At the end of the entire calibration process, the uncertainty of the reference standard and the uncertainty of the calibration process are evaluated. If for some reason this does not happen, the entire calibration is inconclusive. Last but not least, it is also worth mentioning the golden rule of metrology: every measuring device has its measurement inaccuracy. However, only the calibration process will tell us how big.
Each device therefore has its own measurement deviation. Its size is determined by several factors: the design tolerance of individual components, the influence of environmental conditions or, for example, the location of the device in the production plant. At the same time, however, such a deviation has nothing to do with the nature of the measured physical quantity.
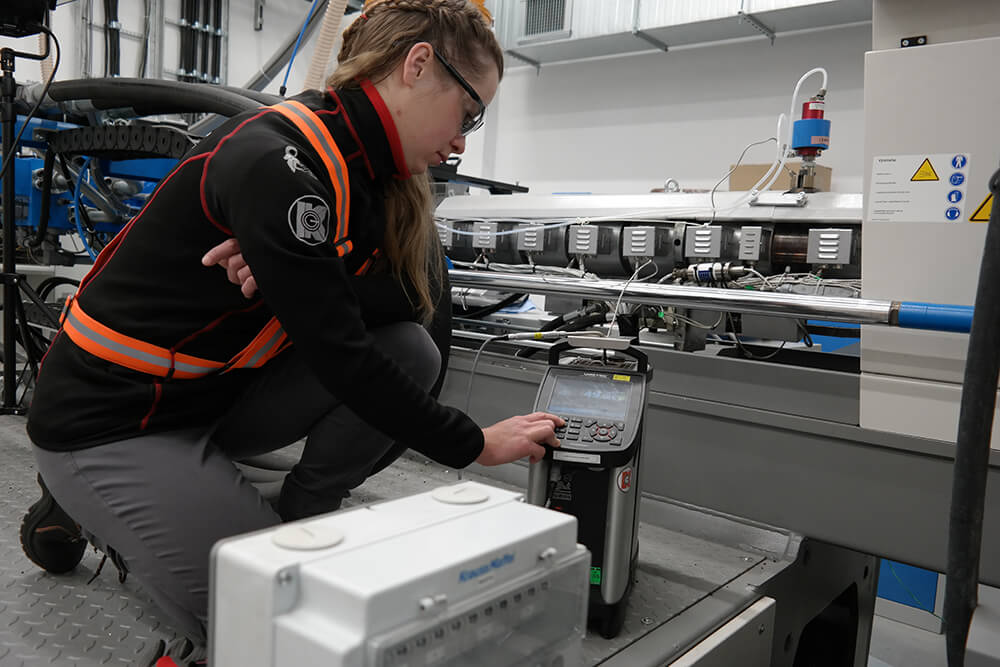
There are many instruments and devices that can (and should) be calibrated. The most frequently performed are the calibrations of length gauges. However, devices with sometimes diametrically different nature and purpose require calibration. Monitors, breathalyzers, iPhone batteries or injection molding machines, specifically their temperature sensors, are also calibrated.

Several good reasons to calibrate
Meter drift
All measuring devices show a certain instability in the accuracy of the measured values over time for the reasons mentioned above. We call such a phenomenon device drift. Despite all the efforts of the manufacturers, who use the most modern procedures and the highest quality materials in the development of new modern meters in order to minimize the already mentioned drift, they never have a chance to eliminate this fact. It’s just a natural trait, and even if we stand on our heads, it will always be something we have to reckon with.
As users, we can minimize device drift by appropriate prescribed handling or adequate and as stable as possible environmental conditions in which the device is located for a long time. In general, the device should not be exposed to extreme temperatures, the effects of seasonal changes and high or low humidity. Devices operating in such demanding conditions tend to wear out faster and thus also to increase their drift.
The best tool to determine the current size of the drift and to ensure the long-term stability of the device are its regular checks and subsequent adjustments, which will return the device to its required accuracy. Without regular calibration, the device does not have a long-term chance of measuring with the precision required by the operator.
Thanks to regular calibrations, we can find out how much drift the device experienced during a specific period of time and, based on this, determine the length of the next calibration interval to ensure the required measurement accuracy.
However, there will also be situations when it is necessary to calibrate the device outside of the regular calibration intervals. For example, in the event of a device failure or other error related to the work process. Fortunately, in such a case, the error in the measurement can be identified quite easily. However, in the case of normal use and seemingly trouble-free operation, we practically have no chance of recording measurement inaccuracy. Device drift is thus one of the most common reasons for regular calibrations.
Calibration is an important part of ISO, IATF, etc. quality control systems.
Company standards, regulations and quality systems are also an important reason for performing regular calibrations. Not infrequently, as a company, we are also forced to comply with the quality system of our customers, who require it as a condition for purchasing our products.
Since our customers’ demands for quality are increasing, a large number of companies have their own internal quality management system. The quality management system is most often certified by the ISO 9000 standard. For the environment, the ISO 14000 standard is used or, for example, in the aviation or automotive industry, quality is controlled by the AMS 2750 standard, or IATF 16949.
Due to the increasing pressure on social responsibility in the area of the environment, there is also an obligation for energy plants to continuously monitor their emissions. Their measurement is ensured by monitoring and measuring devices with high demands on accuracy. Their regular calibrations are a thing without which such enterprises could not function. Violations in this area lead to high penalties, and in extreme cases, even the closure of the entire plant.
In the pharmaceutical industry, basic quality control comes from the highest authorities. In the case of the US, for example, this is the US Federal Drug Administration (FDA). The established rules are very strict and any mistake is understandably severely punished. The supervisory authorities are more than consistent in their inspections, and the periodic calibration of individual devices usually does not escape their attention. In a very similar way, the issue of quality management is also set up in the food industry or the already mentioned energy industry, especially in nuclear and coal-fired power plants.

Safety, health protection
Health comes first for most of us. And that’s totally fine. And although it may not seem like it at first glance, neglecting the timely calibration of devices represents a high potential risk. An example can be the oil or gas industry, in which toxic and volatile substances are widely used. Our employees come into contact with them on a daily basis. If they were to work with distorted data coming from faulty measuring instruments and devices, there is a high probability of an unexpected explosion.
In the food or pharmaceutical industry, our customers themselves are under the greatest threat. Due to the consumption of our products, our carelessness may even have consequences for them.
Product quality
In a considerable percentage of cases, it is necessary to carry out continuous measurements within the production process. Measuring up to the final product is either too late or no longer possible. Thanks to the regularly calibrated instruments with which we measure in the individual phases of our production process, we know so precisely that we are moving within the required product tolerances from the beginning to the end of the production process.
Heat treatment of metals or plastics can be mentioned as an example. These materials are very sensitive to temperature and change their properties and dimensions with every degree Celsius. Therefore, it is important to keep records as proof that the measurements during the manufacturing process were accurate.
Optimizing processes, increasing efficiency
The principle of production consists in the transformation of individual raw materials (material) or semi-finished products into the final product. The amount of revenue that we collect as a company after its sale is determined by how efficient we are in our work.
We can all quite easily calculate the costs we have to spend on a regular calibration process per year. What not everyone can do is express in money the risks, consequences and potential costs that we face in case of neglected or no calibration at all. At the same time, they can be many times higher. If we manage to produce our products with pre-determined precision and do not produce scraps, there are no additional costs due to wastage, handling complaints, etc.
Failure to calibrate can have more consequences than it might seem at first glance:
– failure to meet requirements within the quality system,
– security risks for employees and our customers,
– low product quality and loss of good reputation,
– withdrawal of the product from the market,
– non-compliance with regulations, which may cause the loss of production authorization,
– unpredictable and unnecessary downtime in production,
– economic losses.
If all our important control measurements are sufficiently accurate, we save not only our money, but also time and energy. Bottom line: it is much cheaper to sacrifice the costs of regular calibrations than to risk, in extreme cases, the very existence of your company.


